NOTE: A version of this blog post first appeared on the CUE-NV website.
Computer Science Education Week was held December 3-7 this year. It was started several years ago as a way to showcase the importance of learning computer science. It is held annually in December in honor of
Admiral Grace Hopper, who was born on Dec. 9, 1906. Grace was a fantastic woman who accomplished much in the field of computing during her time with the Navy.
Code.org was asked to help out with CSEdWeek and introduced the concept of Hour of Code, relatively short coding activities anyone can do to learn code, even if they’ve never had any coding experience before.
At
Lomie Heard Elementary School, A Marzano Academy, I teach coding to all students in all grade levels from 1st through 5th grade. Our school is a STEAM+Coding magnet school, so we embrace CS Ed Week and Hour of Code in a big way. Which is actually funny, because if I teach coding to all students every week anyway, why would we focus on Hour of Code?
To answer that question I met with
@mstechie17 and
@carr_8, two very supportive and creative facilitators at my school. We recognized that even at our school not all facilitators are comfortable with or even knowledgeable about coding. Not only that, but since I am the coding facilitator and already do coding with every single class, it’s easy for them to dismiss any coding activities as already covered by my classes. If all facilitators weren’t involved in some way, then coding would become a “side job” that learners continued to do in the silo of my class.
SNAC
To achieve our first goal of getting everyone involved we decided to model our Hour of Code after a favorite National Reading Week activity called Drop Everything And Read, or DEAR. DEAR involves selecting a specific time each day of the week when everyone in the entire building stops anything they are doing and reads for a designated amount of time. Everyone is involved: administrators, office staff, facilitators, etc. This activity creates a sense of community because everyone knows everyone else is involved in the same activity. It also highlights the importance of reading and the fact that everyone can do it.
The acronym we came up with for our coding version of DEAR is SNAC, which stands for Stop Now And Code (and snacks are kind of like small bites, which is a homonym for byte, which is related to coding - get it?). After selecting the designated times each day we created
a list of resources teachers could choose from for their SNAC activity.
Facilitators were provided 3 options: unplugged activities, online options such as those found on the
Hour of Code website, or have a guest speaker, which I’ll talk about in the next section. We gave facilitators time to explore the resources and choose what they wanted to do each day. These were recorded in a shared document for accountability reasons and so they could see what other classes were doing.
At the designated time each day an announcement was given over the PA system and then the magic happened! As learners came to me throughout the week for their regular classes, they were eager to share what they did in class.
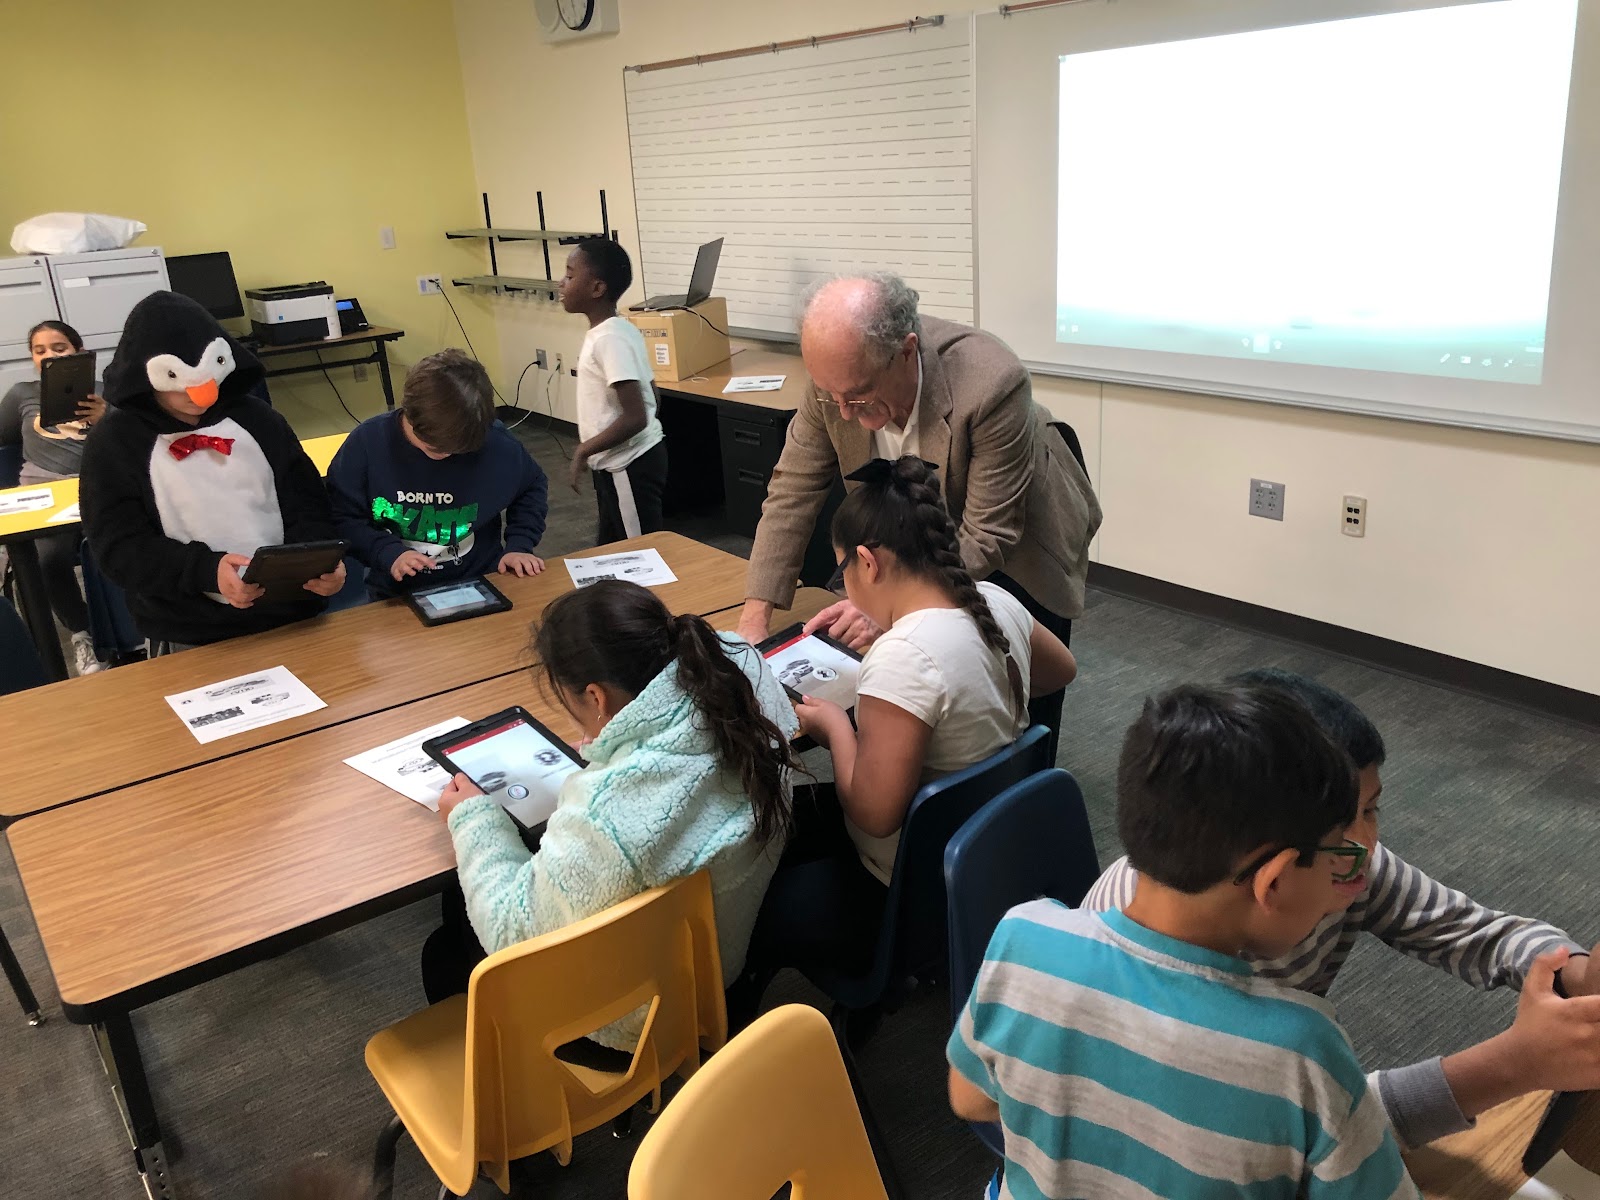
Visitors
Our second goal was to inspire our learners and let them see what real jobs in coding look like. To accomplish that we needed programmers and game developers on campus. We
reached out to a local developer Meetup group and asked any willing developers to sign up for a time to visit our classes. We provided
a link to a Google Form to let us know when they were available, their area of focus, and to make sure we had any equipment ready for them.
As developers signed up we added their available days and times to another shared doc that facilitators used to sign up. In the end we had at least 6 different developers sign up to visit classrooms. Some developers spent several mornings visiting classes, others came only once or twice as their regular jobs allowed, and one even Skyped with a class instead of a physical visit.
All of our visitors were very excited to share their craft with our students and they were certainly received very well by our learners! I don’t know how much time was spent in preparation, but they all did a fabulous job with the classes. All of them have agreed to return again next year.
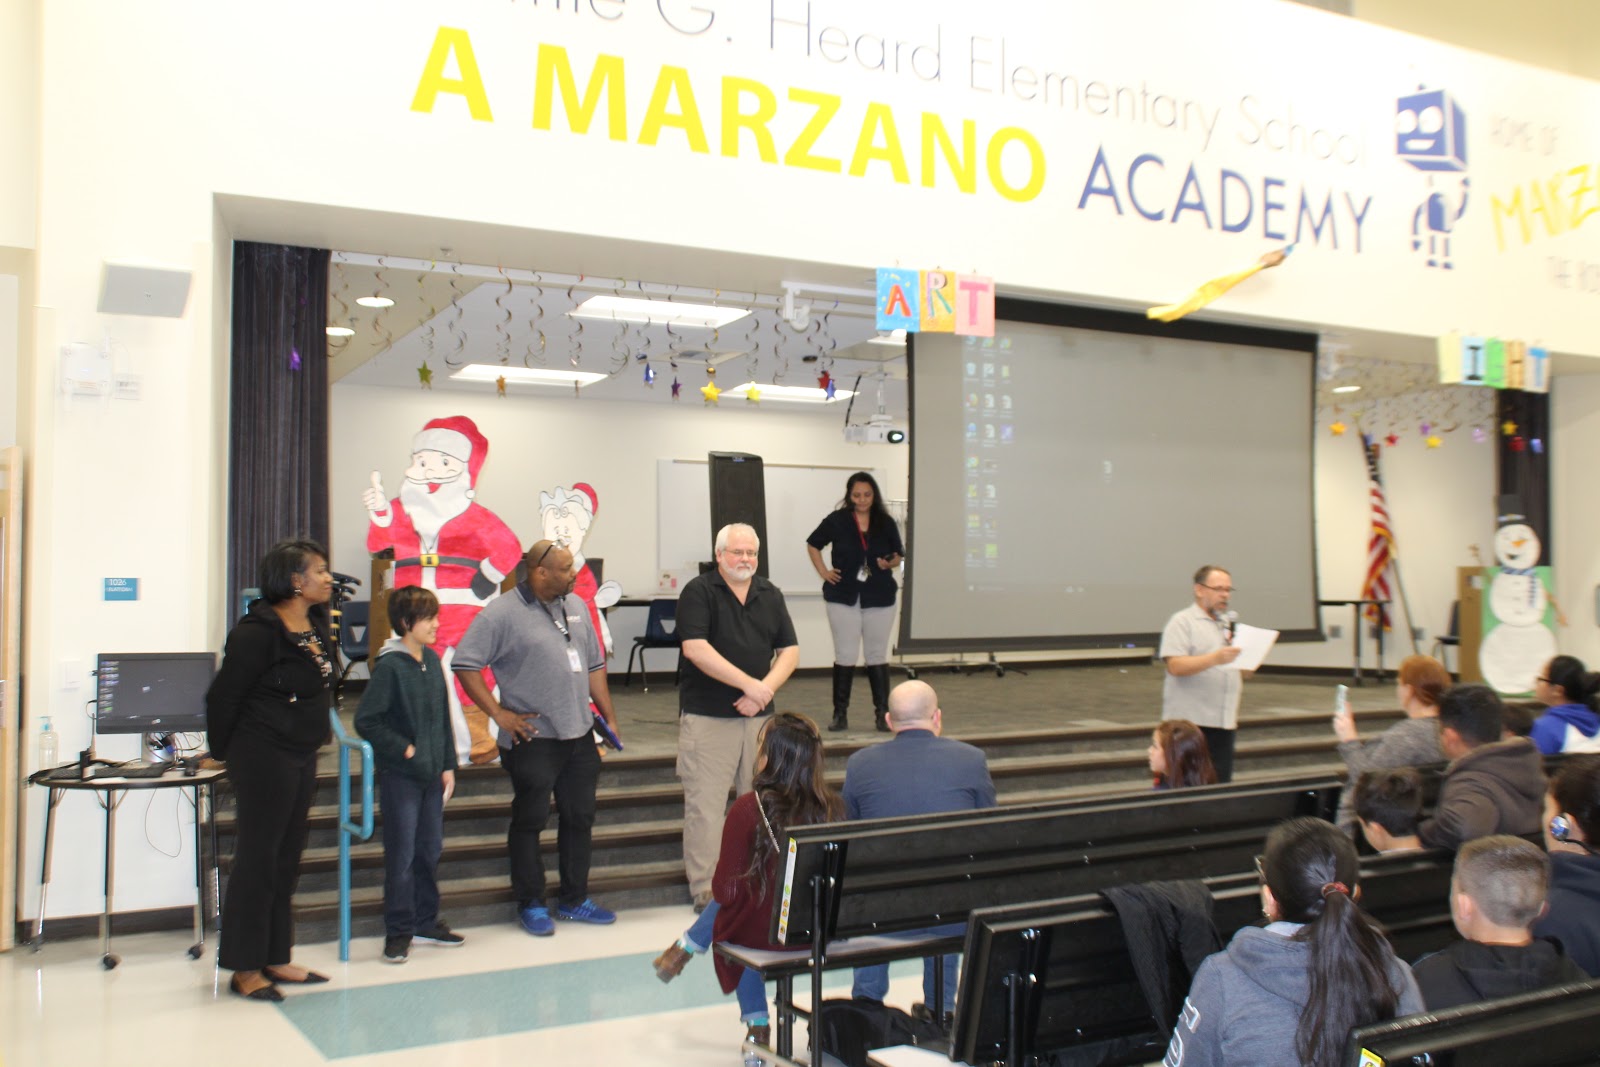
Family </Coding> Night
Our final goal was to involve our families. One evening during the week we organized a Family </Coding> Night where we invited the families to visit the school and experience the same coding activities their learners experience and try their hand at coding. The idea was to make it as hands on as possible so the families could understand what their learners do each week.
We started the evening hearing from four different developers, who had 5 minutes each to share their story about coding. These developers signed up to present at our Family </Coding> Night by
using the same Google Form. Each developer represented a different field and really showed learners and their families how successful developers could be. They excited and inspired the crowd.
Families were then able to visit 6 rooms with different activities. During their weekly rotation to my coding class each grade level experiences a different coding environment from block based coding with Scratch, to text-based coding in HTML, to game development with Unreal Engine. We set up each room with a different coding activity representing each of these coding environments.
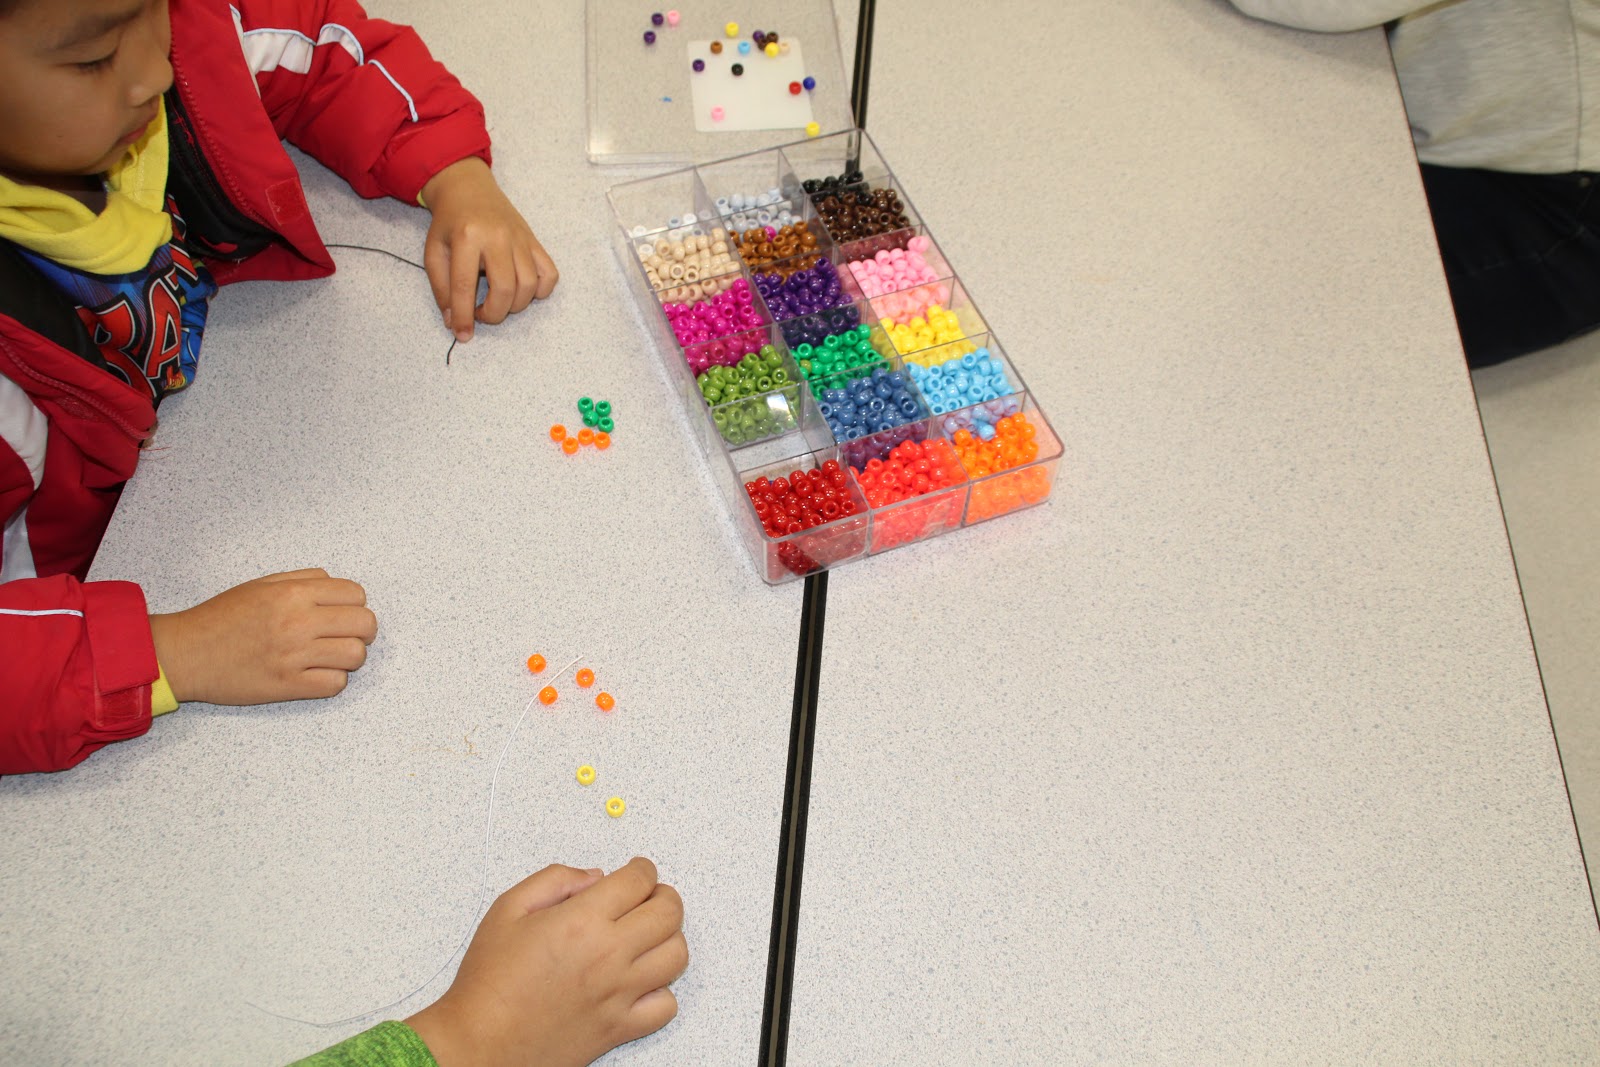
One room had
unplugged activities from code.org such as
Binary Bracelets,
Dice Race, and
Conditionals With Cards.
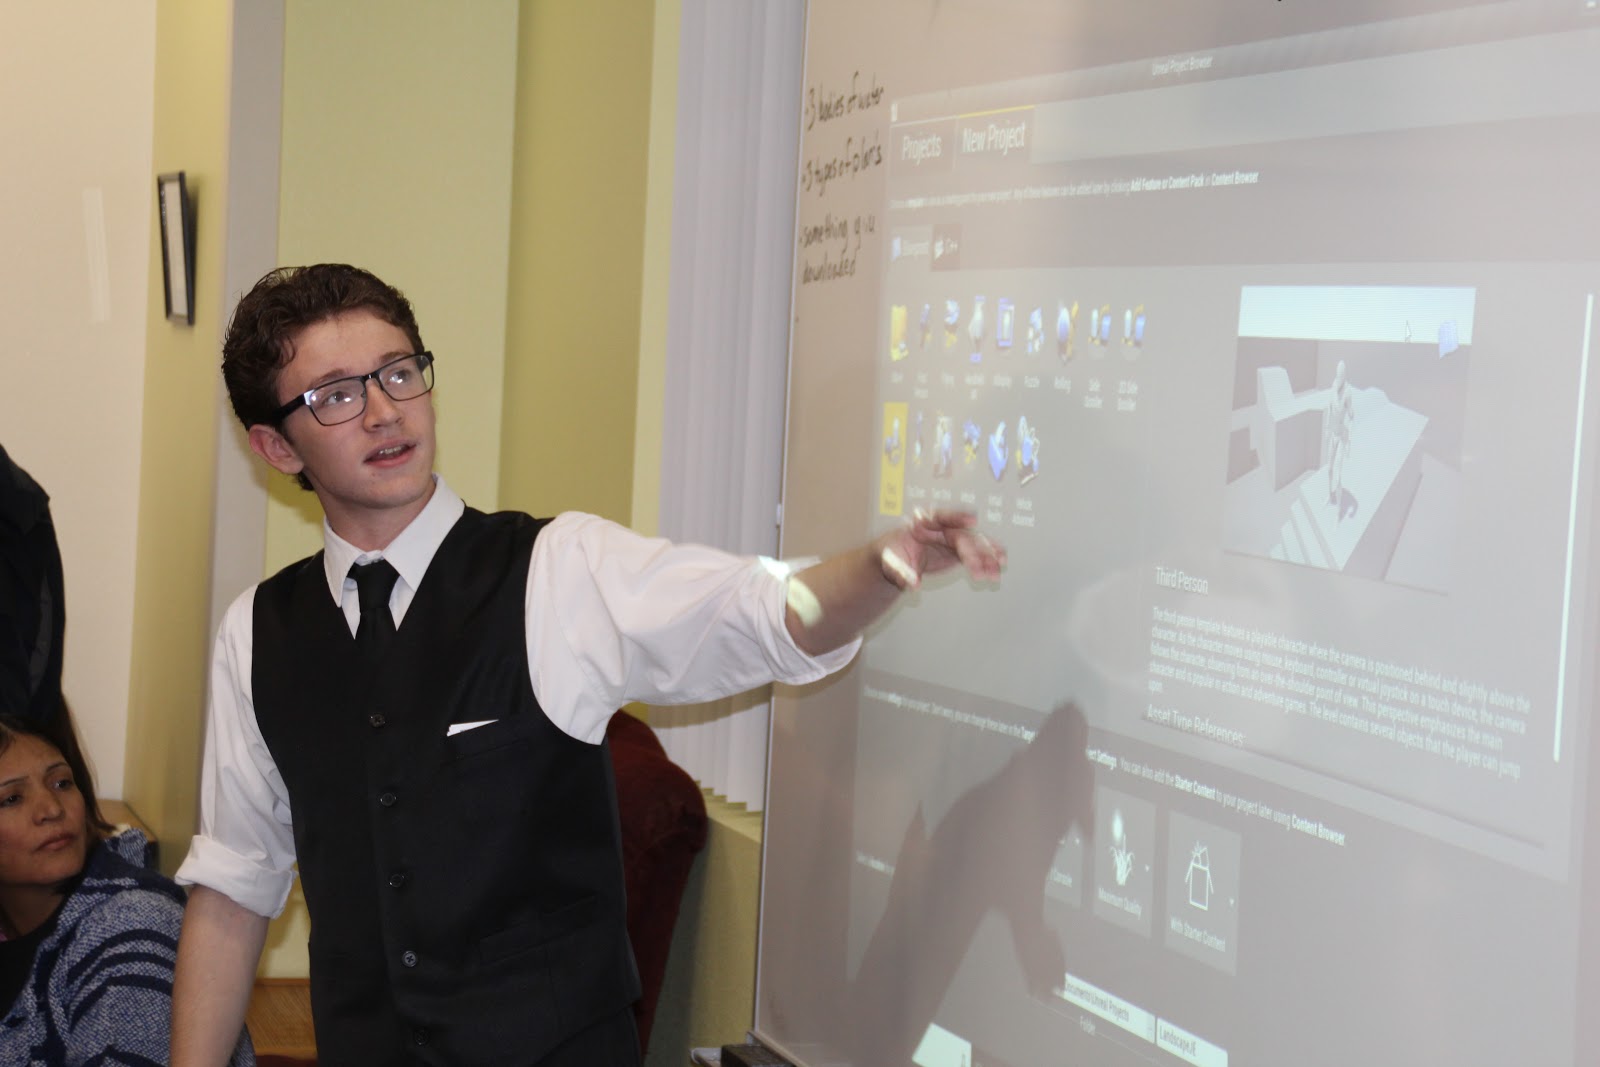
A teacher at the high school our school feeds into sent several of his students to our school to show how to use Unreal Engine. This is a coding platform our 5th graders are becoming familiar with.
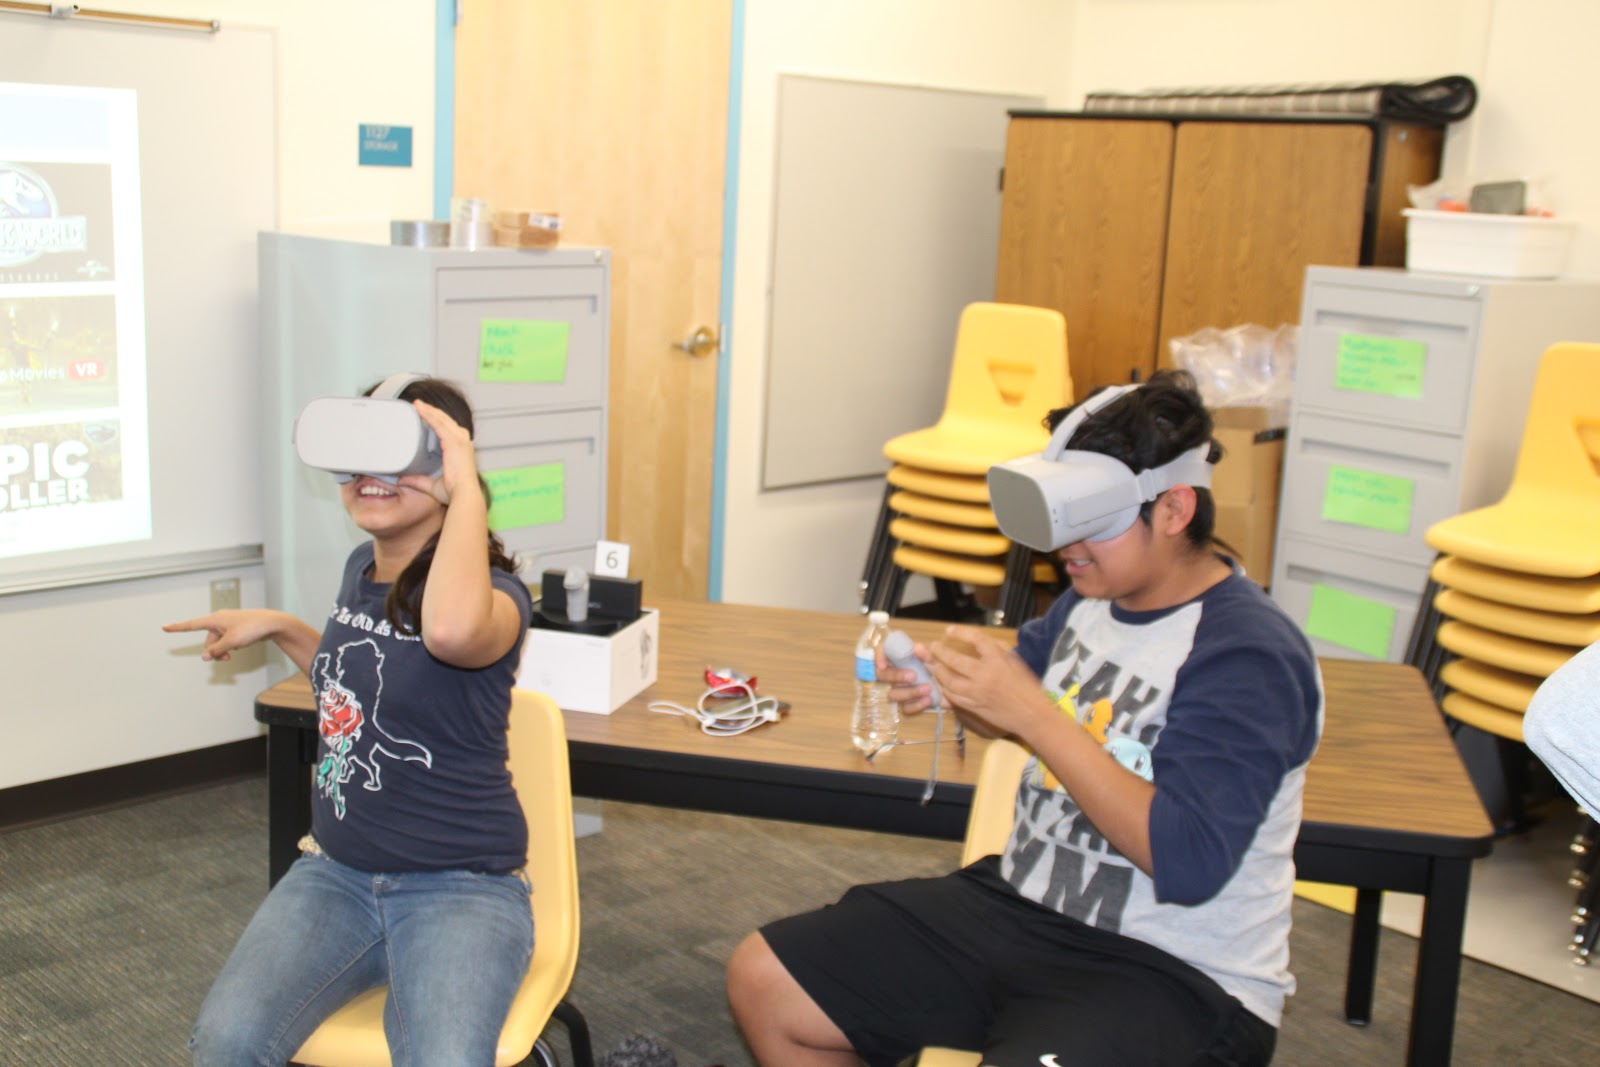
In another room families could try out our Oculus Go headsets. Our 3rd graders are learning how to create VR environments and this was the perfect opportunity for families to see what that was like.
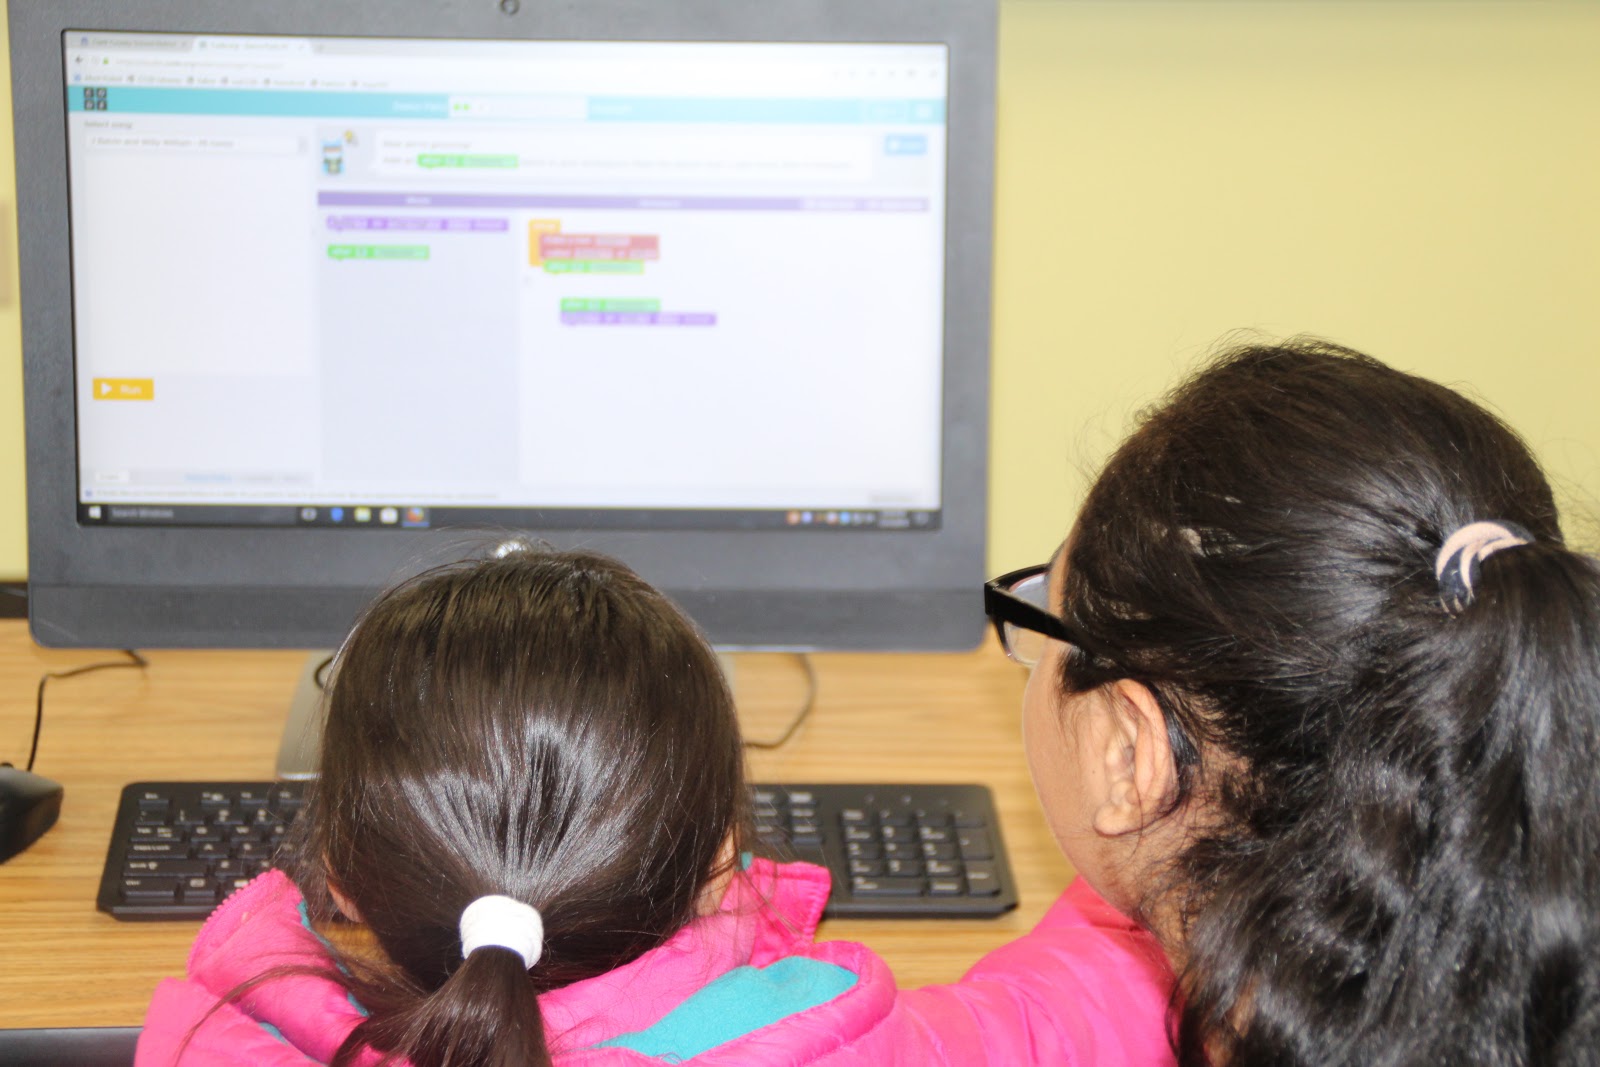
The fourth activity gave families the chance to code using Scratch, a block based coding language our 2nd graders are learning. We had Chromebooks available along with task cards with simple coding activities anybody could follow along and try.
A teacher at another local high school,
Equipo Academy, heard about our event through the developer’s Meetup and asked if her high school students could help out. Since they had experience with
Code.og we set them up in a computer lab where they ran several activities for families to try out.
In our final room families were able to try their hand at HTML, which our 4th graders are learning. We had a simple web page pulled up on each of the Chromebooks and families could change some of the values to see how that changed the web page.
Success
Each of our CSEdWeek activities brought our focus of coding to the forefront. There was lots of buzz and excitement around the school all week and it helped students experience coding in a variety of ways. The success of the whole week could be summed up by the thoughts of one parent at our Family </Coding> Night.
Towards the end of our Family </Coding> Night our principal was talking to one of the fathers and his learner about the presenters. She pointed out that the learner could one day grow up to be just like those presenters - successfully doing what they love. In reply the father said, “That’s why I drive 2 hours every day to bring my son to your school.”