Thursday, March 19, 2015

MysterySkype - where have you been?

I just discovered a really neat tool for displaying states or countries where your students have visited with during a MysterySkype. The website amCharts is used for creating stunning charts of any flavor, but also has free state and country maps. I quickly created one below to show the states that I've Skyped with.


To create your own map simply go to the Visited States Map page. Click on the states you want to highlight either on the map or in the list. You can even change the colors used on the map to indicate water, states visited, etc.


Once your map is ready, there are a variety of things you can do with it. You can share it using social media, such as Facebook and Twitter. You can download it as a pdf or jpg by clicking the share download icon in the upper right corner of the map.

Maps can also be embedded on a class website or blog using the HTML code provided on the page.

This is an awesome way to share with the world where your class has gone for a #MysterySkype!


Read More »

Tuesday, March 3, 2015

SBAC: It's not about the tools

I presented to my middle school today. The topic I was given was about the SBAC and technology. I was the last in a series of presentations by each of the departments. Each department addressed ways they are using technology to prepare their kids for the SBAC, usually by formatting their assessments or instruction to mimic the SBAC question formats.

Because they focused on tools, I focused on concerns teachers have with the format and structure of the SBAC, as well as the advantages this type of test has over traditional multiple choice questions. I stressed that teachers need to focus on content and integrating tech skills into every day activities. In the end, students will perform well if they have deep understanding of the content. No amount of teaching tech skills in isolation will get around that.


SBAC - Created with Haiku Deck, presentation software that inspires

The presentation with presenter notes can be found here.


Read More »

Sunday, February 15, 2015

Awesome iPad App: PuppetPals

There are many digital storytelling apps for iPads out there. One of my favorites is Puppet Pals 2, which lets students use digital puppets to tell their stories. Students can import their own pictures and backgrounds for unlimited creativity. When students touch a puppet and speak, the character's mouth moves. Students can even move individual limbs and joints on any of the puppets. The creativity with this app is unlimited!

Puppet Pals 2 is a digital storytelling app. Students choose a setting, puppet characters, rides for their puppets and appropriate background music for their story. Once the stage is set, students move the puppets with their fingers while narrating their story. Finished videos can be exported to the camera roll.

Puppet Pals 2 is free from the iTunes App Store. A Full-Access Pass with access to all settings, puppets and rides is available for $9.99. Using Apple's VPP schools can get it for half that price.

Students begin using the app by setting up the stage with a setting and characters. When everything is ready, they press the record button and start narrating their story.

1. Select a location or choose Photos and import their own photo as a background.


2. Select Characters.


3. Select a Ride for their characters.


4. Select appropriate background music.


Create their own custom character by switching heads and bodies. They can even take a picture of themselves and add their head to one of the bodies!

5. After the scene is set up, students tap the record button and begin narrating their story. They can use their fingers to move the puppets or their joints around the scene.

6. Once the recording is done they can preview their video or save it.

7. Finished videos can be exported to the Camera Roll and transferred off the iPad, if desired.

Integration Ideas

  • Students create a cartoon that highlights the major conflict in a work of fiction.  The characters have to use dialogue to explain the major obstacles that are being faced within the story.
  • Create short instructional videos in any learning area.
  • Create natural sounding dialogues to be incorporated into written works.
  • Take snapshots of main character or events in a story, use them to retell or create a new ending.
  • Use student photos or characters to act out story problems.
  • Use the historical characters and photos from the internet to tell a story from history.
  • Create any original short story and act it out using the characters.

Download my Tech Integration Challenge for Puppet Pals 2 and see if you are up to the challenge!
Read More »

Thursday, February 12, 2015

Awesome iPad App: Toontastic

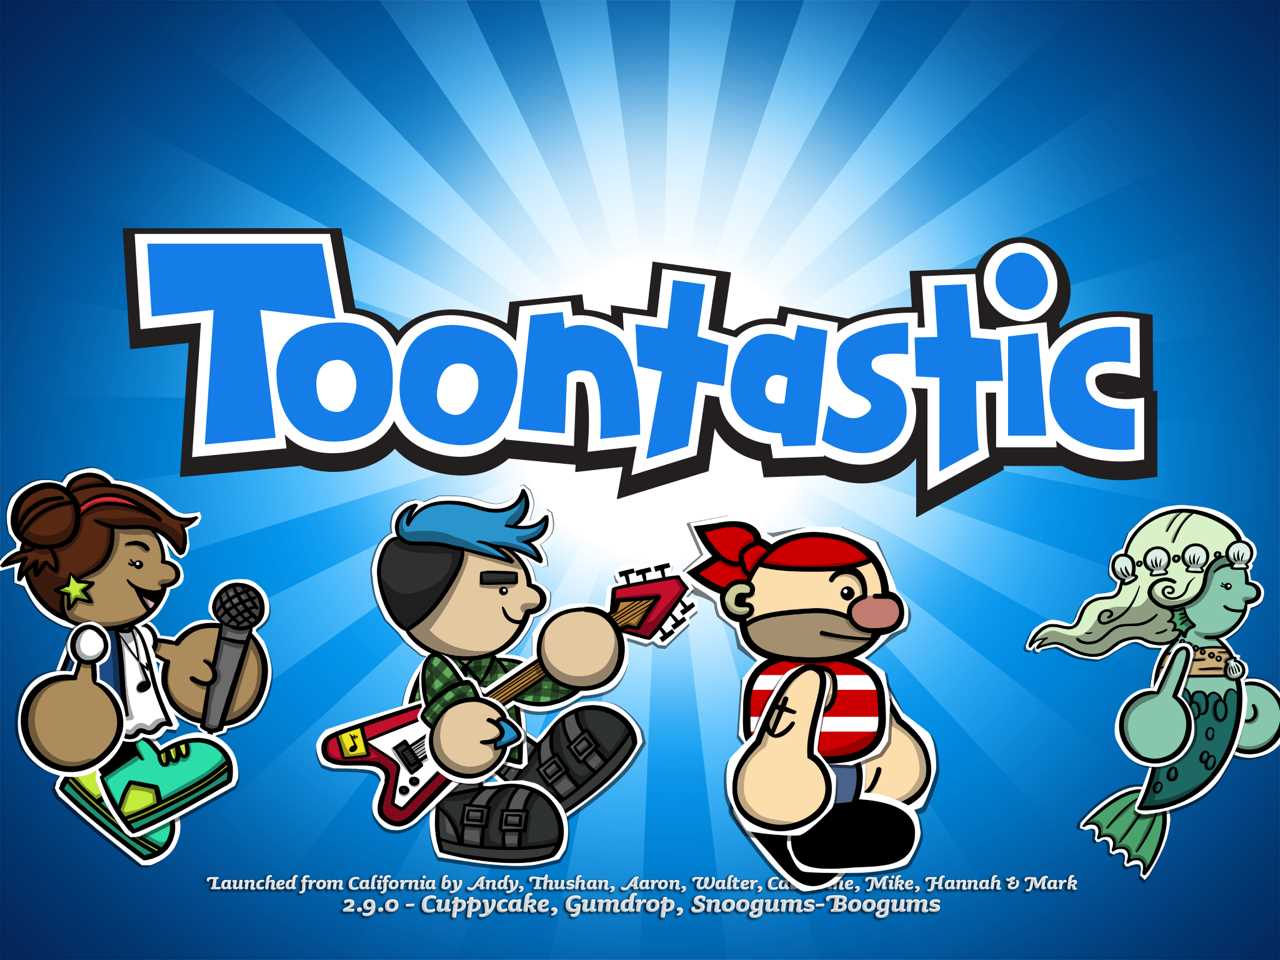
One of my favorite iPad apps is now completely free! Toontastic by Launchpad Toys is a digital storytelling app for iPads. Students use puppets, narration, animation and their imagination to tell a story. Students are guided through a 5 part story arc to develop their story. Final cartoons can be exported to the camera roll or uploaded to the ToonTube website for anyone to view.


Toontastic is available for free from the App Store and includes all the settings and toys from a variety of themes. Finished cartoons can be uploaded to the ToonTube website where can be public or private. Students cannot create accounts. Instead, the teacher would create a class account and all student work would be uploaded to the same location.

Toontastic has a great features that guide students through the steps of building their stories. The task and purpose of each step is explained in easy to understand language, while arrows prompt students to the next step.

Tap Create Cartoon, then New Cartoon.

For each scene in the story arc, begin by tapping the scene, then the Paintbrush.

Select a Setting.

Select Toys (characters) that play a part in that scene.

Tap the Start button and record the story while moving the puppets around the screen with your fingers. There must be narration or you cannot go to the next step.

Add background music to the scene. 

When all scenes are finished, tap the Done button. Give the movie a title and enter the Director’s name. The video will be created and can be exported to the Camera Roll. It's that easy!


Integration Ideas


  • Have students retell a selection from a story read during class.
  • Use the story arc to teach students story development.
  • Have younger students create a simple story with just 3 scenes: beginning, middle, end.
  • Have students recreate a famous scene from American history, such as the signing of the Declaration of Independence.
  • Print out settings and character cards and have the students select characters that normally wouldn’t belong in a setting. Have students create a story explaining what happened.


Resources

I've used Toontastic with several different grade levels. I've developed a few resources that help students create their stories before recording them. These resources are free to download and use as you see fit.

Scenes and Toys - each theme has settings and toys. I've put each theme and all it's toys on it's own page. This makes it easy for students to see all the possiblities for their story elements. It's also useful for rooms where not all students have access to an iPad.

Storyboard Scene - this is a one page planning guide for each scene. Students draw their scene, the characters, and write this part of the story. 

Storyboard BME - this storyboard was designed for my kinder classes that created stories with a Beginning, Middle, and End. Students can plan out their entire story on one page.

Download my Tech Integration Challenge for Toontastic and see if you are up to the challenge!

Read More »

Wednesday, February 11, 2015

Google Earth Pro is free!


Back in January Google announced that Google Earth Pro is now free! Google Earth has always been free, but the Pro version previously cost $400 a year.

Why would you want the Pro version? There is a complete list at the Google Earth Pro product page. Some of the advantages for educators are:
  • measure distances in feet, miles, kilometers, and more
  • measure area and radius
  • record and share Google Earth movies
Read Google's announcement to find links to get a free license key and download the software at http://google-latlong.blogspot.com/2015/01/google-earth-pro-is-now-free.html

How would you use Google Earth? Check out these sites for lesson plans and ideas.
Read More »

Tuesday, February 10, 2015

Cool and Useful Website: TTribune

I recently posted about the Newsela website where students can read informational texts. I came across another awesome site produced by the Smithsonian Institute. It's a actually a collection of 4 websites that also has current news articles on varying Lexile levels.

TTribune is a collection of free websites sponsored by the Smithsonian Institute for use by K-12 teachers and students. Teen Tribune (grades 9-12), TweenTribune (grades 5-8), and TTJunior (grades K-4) consist of daily news stories that include text, photos, graphics, and audio/visual materials. Students can leave moderated comments on any of the teacher selected stories or take quizzes for reading comprehension. There's also a Spanish version of the site.

The TTTribune sites are free. Teachers sign up for free at tweentribune.com/join. Teachers manually create student accounts, which includes a username and password.

Setup

Teachers create an account http://tweentribune.com/join. The site will automatically create 9 classes, which can be renamed.

Students are manually added to each class by the teacher and the system assigns a username and password. The username and password can then be edited/changed for each student by the teacher.

Create an Assignment 

From the home page of the site teachers can browse through the articles. When you find an article you want students to read, click the Assign link at the bottom of each article. From the pop-up window select the class(es) you want to assign it to.


Students can also choose to browse through the available articles and select an article they are interested in and comment on it.

Comments do not appear on articles until they have been approved by the teacher. Click the Comments awaiting approval link from the Teacher menu. This screen can also be used to leave feedback to each student.

Each article has an accompanying quiz that can be used to assess student understanding of the article. There is also a Daily Quiz where students might have to search through several articles to find the answer.


Daily Photos give students the opportunity to view news photos and leave a comment. Captions for the photos are hidden until students post a comment, at which time they can edit their comment.

Student View

When students log in, they will be redirected automatically to a page containing links to the stories you assigned, any message you added to assigned stories, instructions you posted via “Create instructions for your students” and feedback you posted on their comments.

Integration Ideas


  • Pick a controversial story and ask students to post a persuasive argument for their opinion.
  • Ask students to find a comment they disagree with, then ask them to post facts that make an effective, opposing argument.
  • Ask every student to blog on a particular story, then use their responses as the basis for classroom discussion.
  • Ask students to post a summary of the day's top stories to demonstrate that they understand.
  • Ask teams of students to present a "newscast" based on the stories they like best.

The site also has a list of great lesson plans and integration ideas. These lessons can be used over and over because the stories are constantly changing and the answers will be different each time.

Download my Tech Integration Challenge for Newsela and see if you are up to the challenge!
Read More »

Cool and Useful Website: ActivelyLearn.com

I recently became aware of ActivelyLearn.com at the Clark County School District Blended Learning Mini-Conference at Valley HS. I attended a session by @chclteteacher and @weberswords who showed how easy the site is to use to practice close reading skills. Two teachers from one of my schools attended the same session and decided they wanted to share the site with the entire school staff. They asked me, their Digital Learning Coach, to demo the site at our upcoming Staff Development Day. So this week I've been learning everything I can about Actively Learn.

ActivelyLearn.com is a website that lets teachers create reading assignments that have stopping points throughout the text. At these stopping points, teachers can embed questions, notes and videos directly to the text. Students must think and write before moving ahead in the text. Teachers can also embed additional content to enrich the text and to connect the text more closely to what students find compelling.

Watch this 2 minute video to get an idea of what ActivelyLearn can do.

Actively Learn is a free website. A Pro version is available with additional features, such as sharing assignments within a school and centralized viewing of student progress within the school. An email address is needed for teacher signup, but not for students.

Setup

Click View Classes to create and manage your classes. You will be given a class code. Students go to http://www.activelylearn.com/signup and enter the class code to create their account. An email address is not required for students.

Create an Assignment

  1. Click Create Assignments, then Add Content. You can search for articles in the Catalog or add your own text through a URL to an article or upload a PDF. Items in the Catalog can be filtered by grade level (Lexile) or category (subject).
  1. Embed your instruction into the text: highlight the text and insert a question, note, or link to image or video. Inserting a question will let you select a standard to assign to that question. Questions can be either short answer or multiple choice. Notes help provide more information to the reader. Notes can be tagged with text elements. Links can take the reader to other sites for more information.


  1. To assign the text to a class by click Create Assignments, then Assign to Classes, and click Next. In the pop up select the class(es) and click Assign.

Student Work

Students begin working on assignments by first selecting a class and choosing the assignment. They can begin reading, taking notes, answering questions, and defining words.

Download my Tech Integration Challenge for Actively Learn and see if you are up to the challenge!

Read More »